Connect Nextcloud with Google Colab
In this article I will walk through how to connect and access your Nextcloud files with Google Colab


Hi everyone,
In this article I will walk through how to connect and access your Nextcloud files with Google Colab . this can be pretty useful because you can download files directly to nextcloud via google colab and also use the files in your nextcloud in the colab notebooks.
before we begin you'll have to create a nextcloud account if you already haven't created . and also you'll need a google account to use google colab .
After signing up to nextcloud , go to settings, and in settings visit the security tab. here we have to create an app password in order to authenticate from google colab . here we can use our main password but it is not a good idea to expose your main password in programmatic access, and also we can revoke this app password anytime we want.
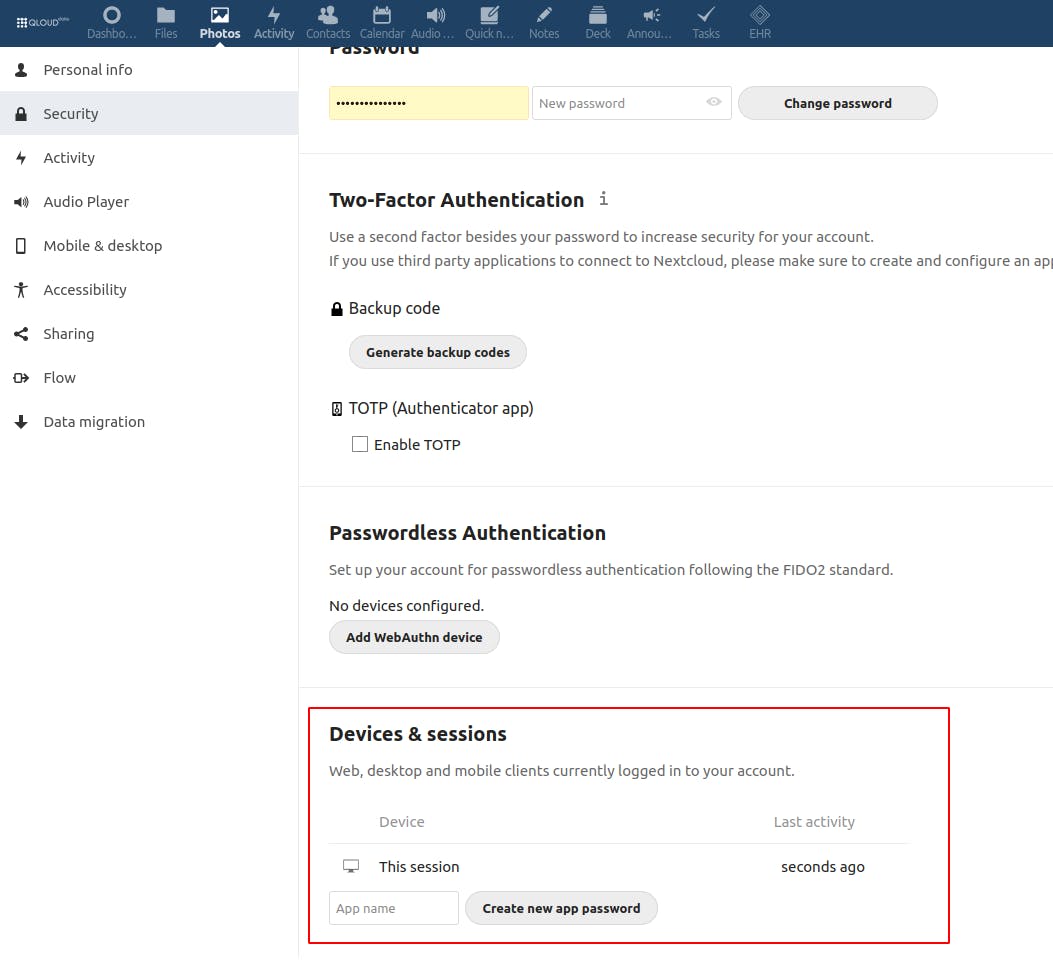
after creating the app password, you will get a username and a password. note them because we will need them in the colab notebook.
next access the webdav URL located on the left bottom of the dashboard.
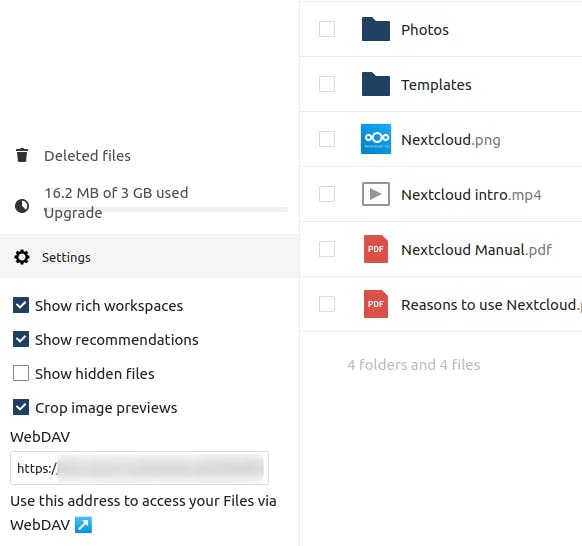
WebDAV (Web Distributed Authoring and Versioning) is a protocol framework that allows us to create, change and move documents on a server. nextcloud support this protocol so we can use it to connect to files from google colab.
we will need this URL to access from the colab notebook.
Now we are done with nextclound end. so let's move on to google colab .
First create a new colab notebook.
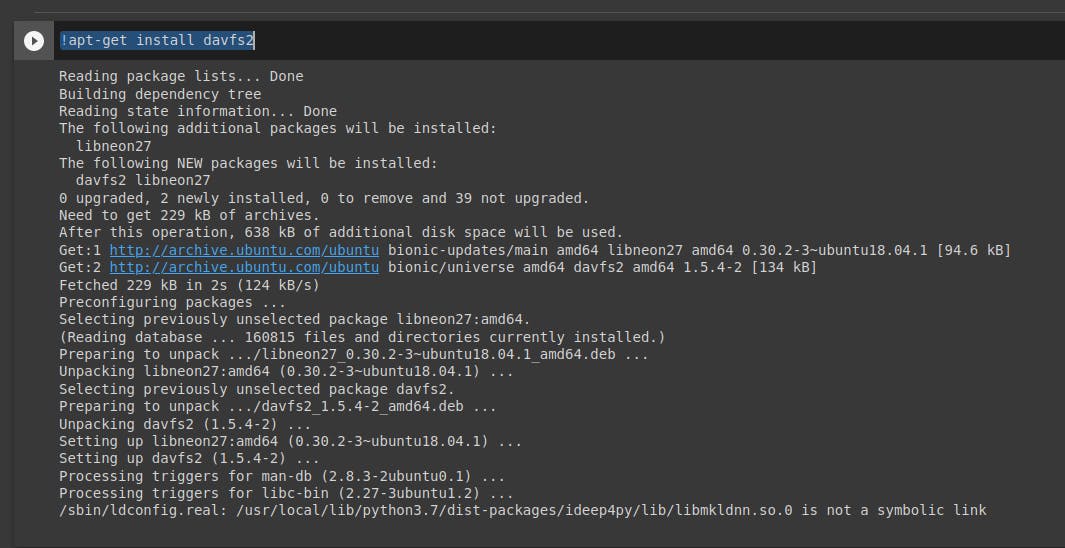
next, we have to install davfs2 WebDAV filesystem driver, which allows us to mount WebDAV like a remote filesystem.
!apt-get install davfs2
! is used as a prefix in google colab to invoke bash commands.
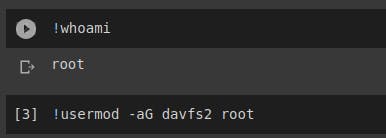
next, we need to add our current user to the davfs2 group. because we are in colab, our user is root but if you are not sure you can run whoami command to verify the user.
!usermod -aG davfs2 root
after that, we need to create 2 directories one for nextcloud drive mount and one for davfs2 configuration files.
!mkdir ~/nextcloud
!mkdir ~/.davfs2
after that, we need to set the mounting point in the /etc/fstab file.
!echo "[your-webdav-url] /root/nextcloud davfs user,rw,auto 0 0"
these values are space separated and will append to the /etc/fstab . you can use cat command to verify that the file is written successfully.

and the final step is to mount the drive using
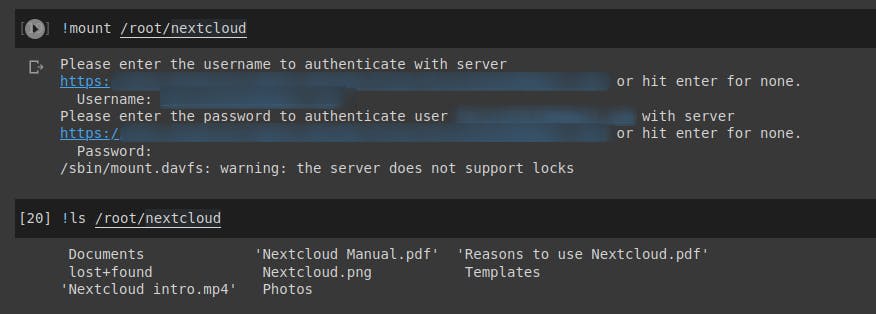
!mount /root/nextcloud
here you will prompt to enter the username and the password. enter the credentials we noted from the nextcloud dashboard (username , app password) .
you can use ls command to verify whether the drive is mounted.
now we can access nextcloud files by using a mounted folder, in this case /root/nextcloud.
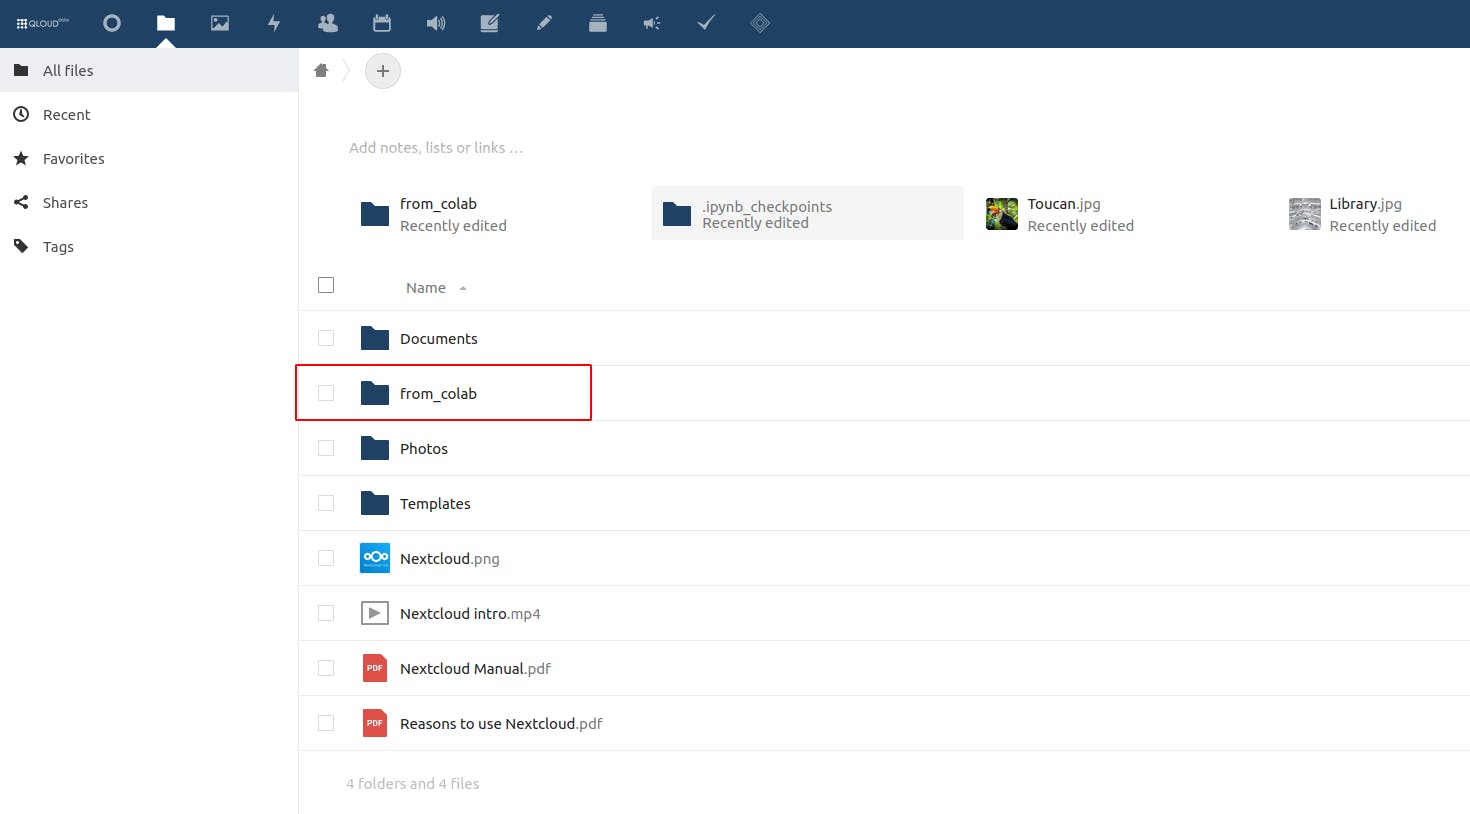
we can also write to that mounted folder, and access them from the next cloud.
!mkdir /root/nextcloud/from_colab
we can unmount the drive simply by using the command
!umount ~/nextcloud
!apt-get install davfs2
!usermod -aG davfs2 root
!mkdir  ~/nextcloud
!mkdir ~/.davfs2
!echo "[your-webdav-url] /root/nextcloud davfs user,rw,auto 0 0" >> /etc/fstab
!mount /root/nextcloud