

Introduction to AWS (+run Appwrite)
Brief introduction AWS and a walkthrough on deploying Appwrite to an AWS EC2 instance


Hi everyone,
in this article, I will give an introduction to AWS (Amazon web services) and a walkthrough on deploying appwrite to an AWS EC2 instance using the AWS console.
Let's dig into what AWS is.
AWS or Amazon web services is a subsidiary of Amazon founded in 2006. it provides on-demand cloud computing platforms for corporate, individuals, and also for governments as well around the world. AWS currently has 27 Launched Regions

AWS provides a wide variety of cloud products for its users including computing, storage databases, networking, machine learning, etc.
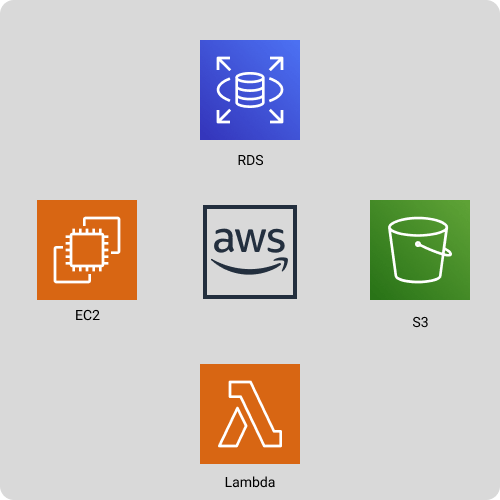
From those AWS EC2, S3 , RDS, and lambda can be considered as the most popular and widely adopted services.
AWS EC2
Amazon EC2 (Elastic Compute Cloud) is a cloud computing platform of AWS where users can provision and manage computing needs. it allows users to create compute instances, attach storage and also manage networking capabilities to host user's applications.
AWS S3
Amazon S3 (Amazon Simple Storage Service) is a storage solution that provides scalable object storage for its users with a 99.999999999% (11 9s) of data durability, which is well suited for critical task and backups storage. S3 also has different storage classes to provide different feature sets that users can select.
AWS RDS
AWS RDS (Amazon Relational Database Service) is a fully managed distributed relational database solution. it supports a variety of database engines including Postgres , Mysql etc.
AWS Lambda
AWS Lambda is a highly scalable event-driven serverless computing platform provided by AWS.AWS handles all infrastructure needed to run these functions, giving users a more simple but powerful computing solution.
Run appwrite on AWS
Now let's deploy EC2 instance in AWS and deploy Appwrite.

[Appwrite](appwrite.io is a Secure Open-Source Backend Server for Web, Mobile & Flutter Developers. which comes with great features out of the box that is essential to creating a cross-platform application at a fast pace.
first create a AWS account if you don't have one . AWS has a free tier for new accounts to try out their services with some free tier limits.
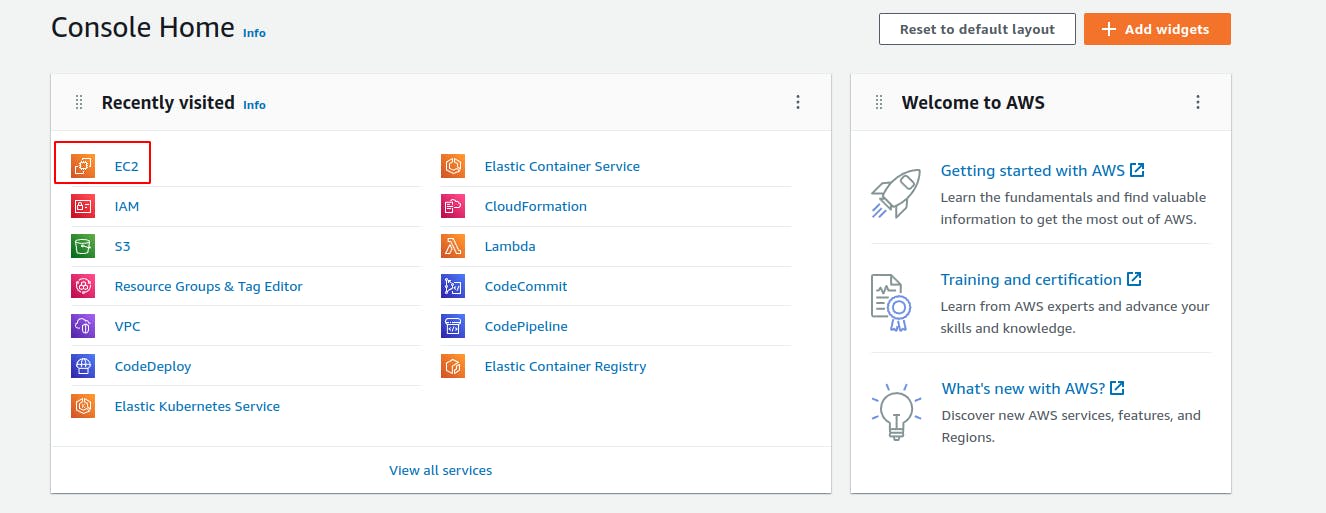
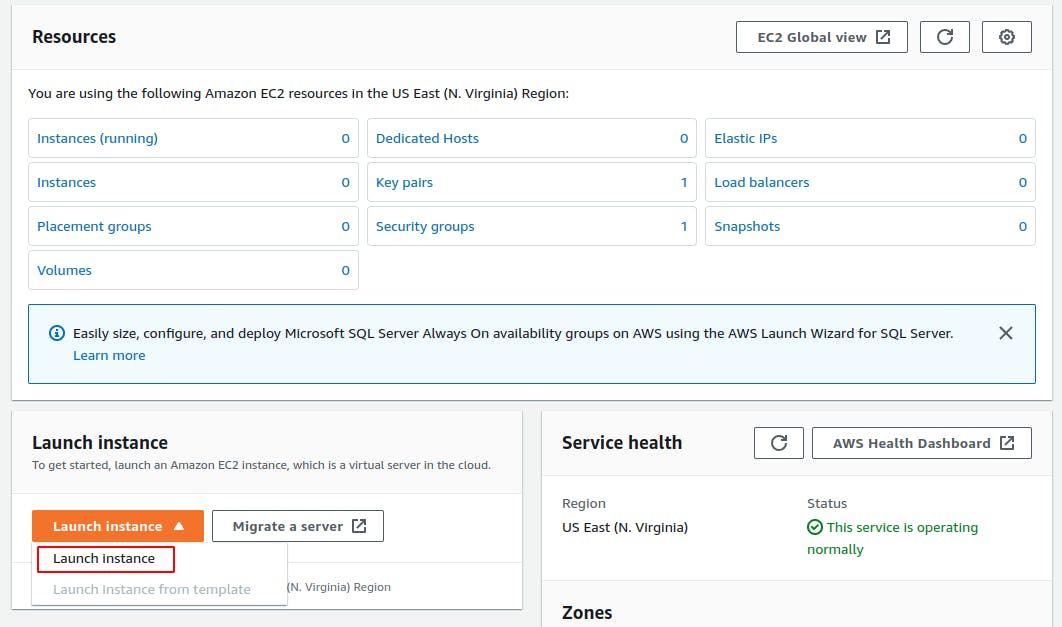
after login in you will see this screen. then click ec2
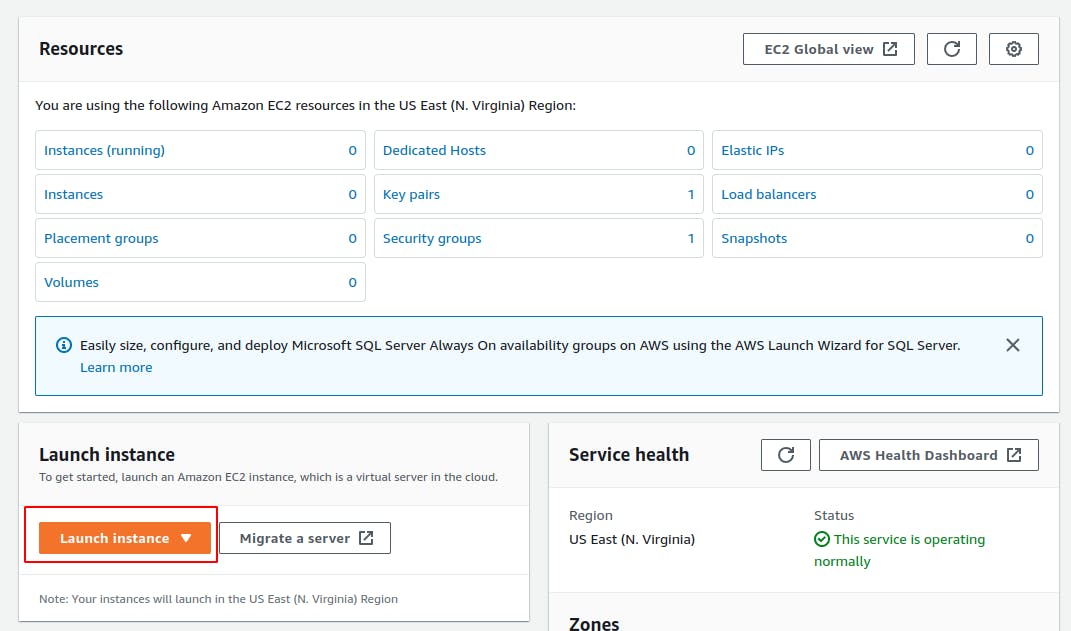
then click the lunch instance button
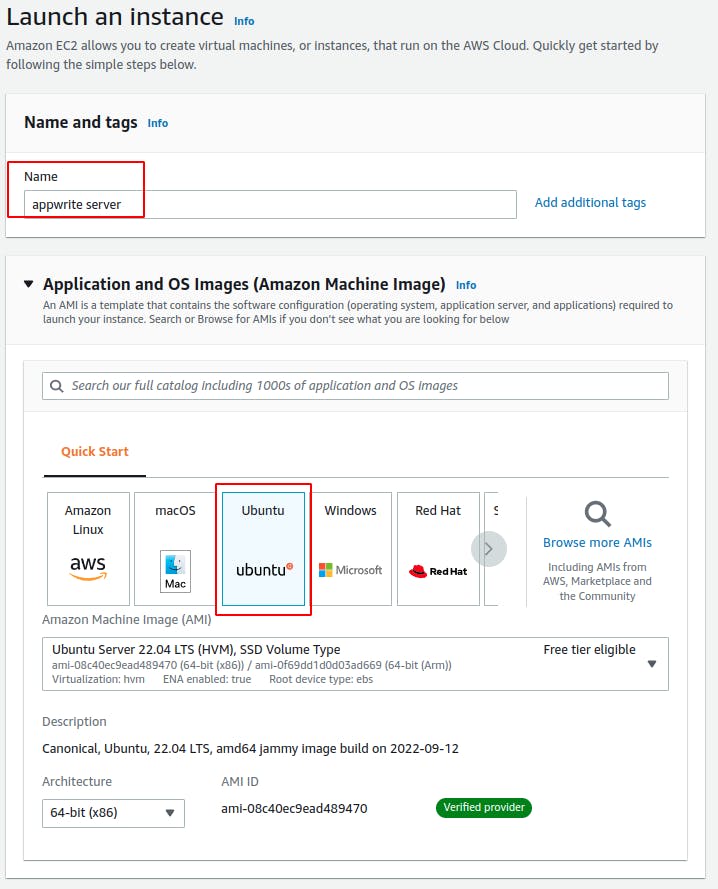
then in the lunch instance give a name and an os image to continue. here I am naming this as the appwrite server and also I chose ubuntu 22.04 os since I am more familiar with it
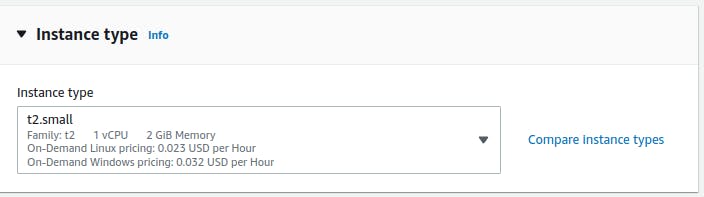
next, i will select the t2 small type of the instance I want to provision, this will define what is the CPU and memory capacity of the instance.
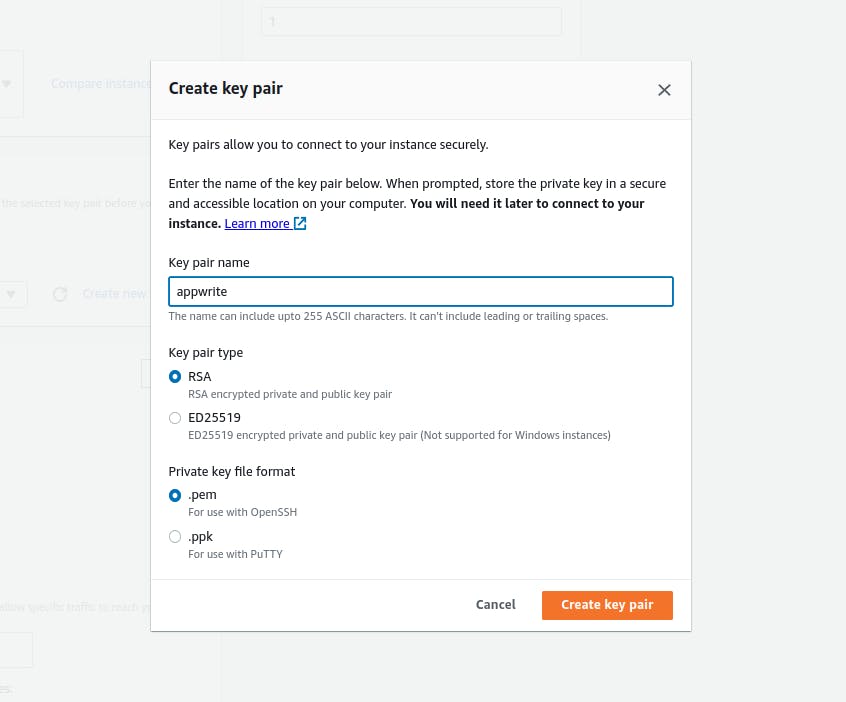
next, i will create a key pair to connect to this instance via ssh.
then for the network setting, I check Allow HTTP traffic from the internet which will be used to connect to our appwrite application after deploying it. i will also Allow SSH traffic from Anywhere which is needed to connect to the instance via ssh .
by default provisioned instance has a public IP address which we use to connect to it, and also when an AWS account creates it will create a default VPC (Virtual private cloud) to simplify the experience for new uses, here that VPC is used as default. this instance will be provisioned on AWS us-east-1 region.
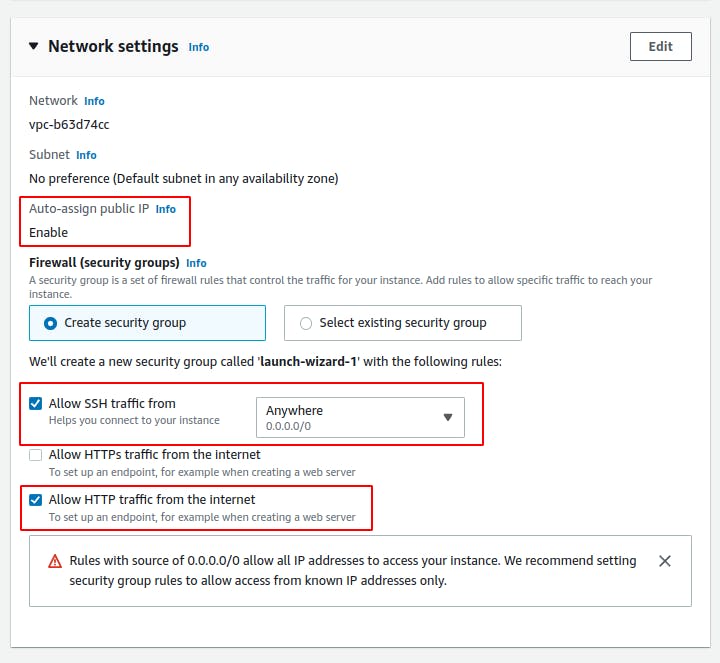
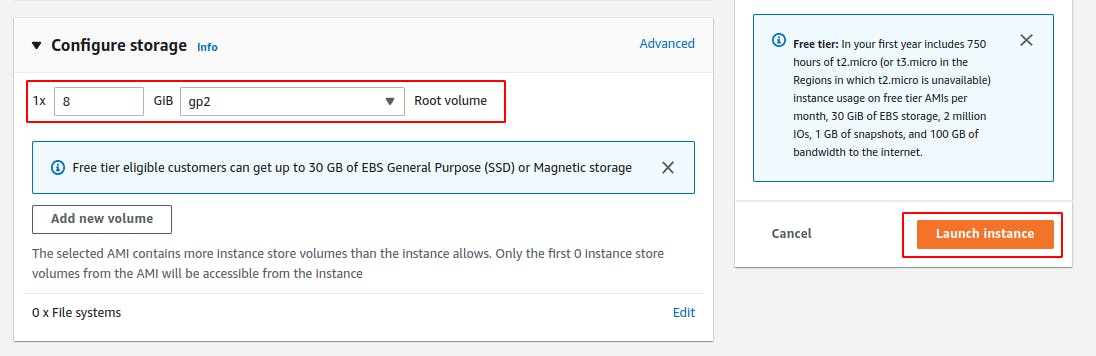
finally, for storage i will leave it as the default setting, then click the launch instance button to provision your AWS EC2 instance.
you will see this screen with lunch success. now click View all instances.
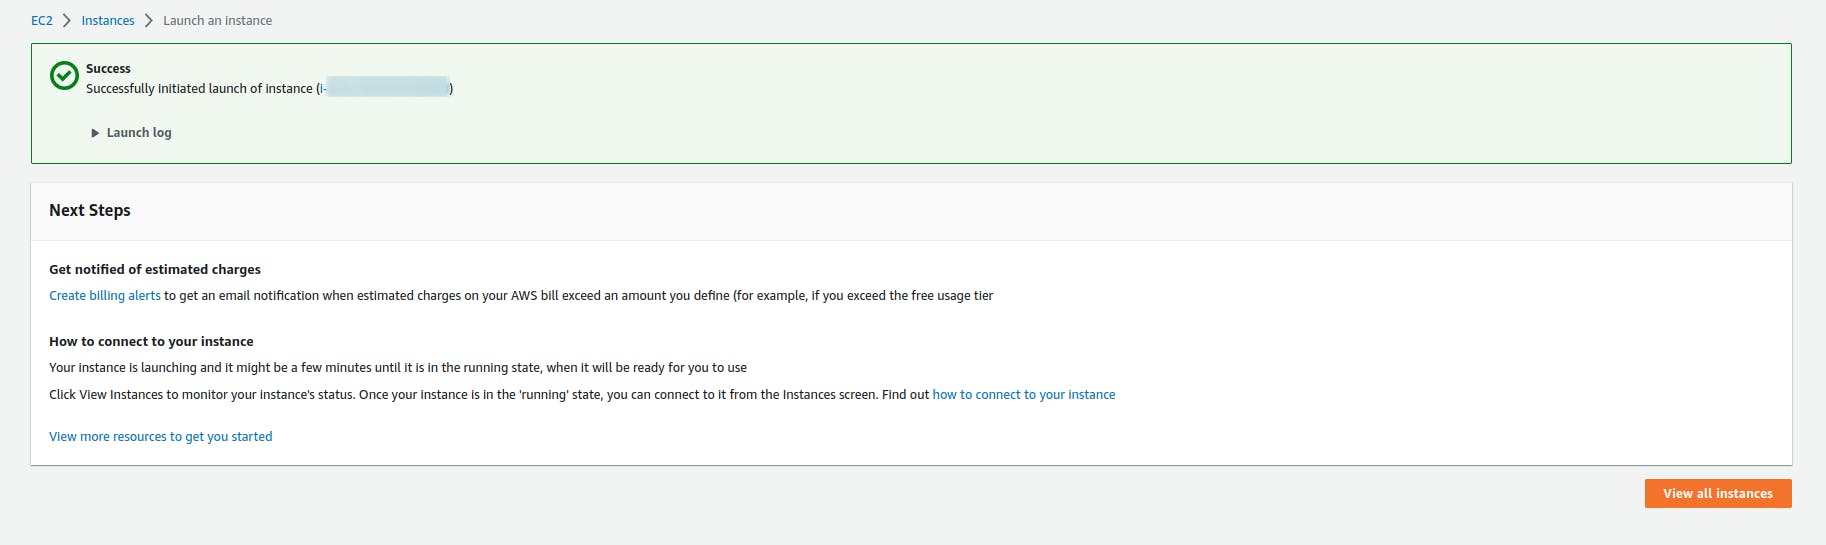
it will take a few seconds to make it to a running state.

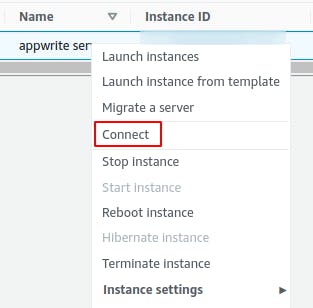
next right click on the instance and click connect to get instructions on how to connect to the instance via ssh.
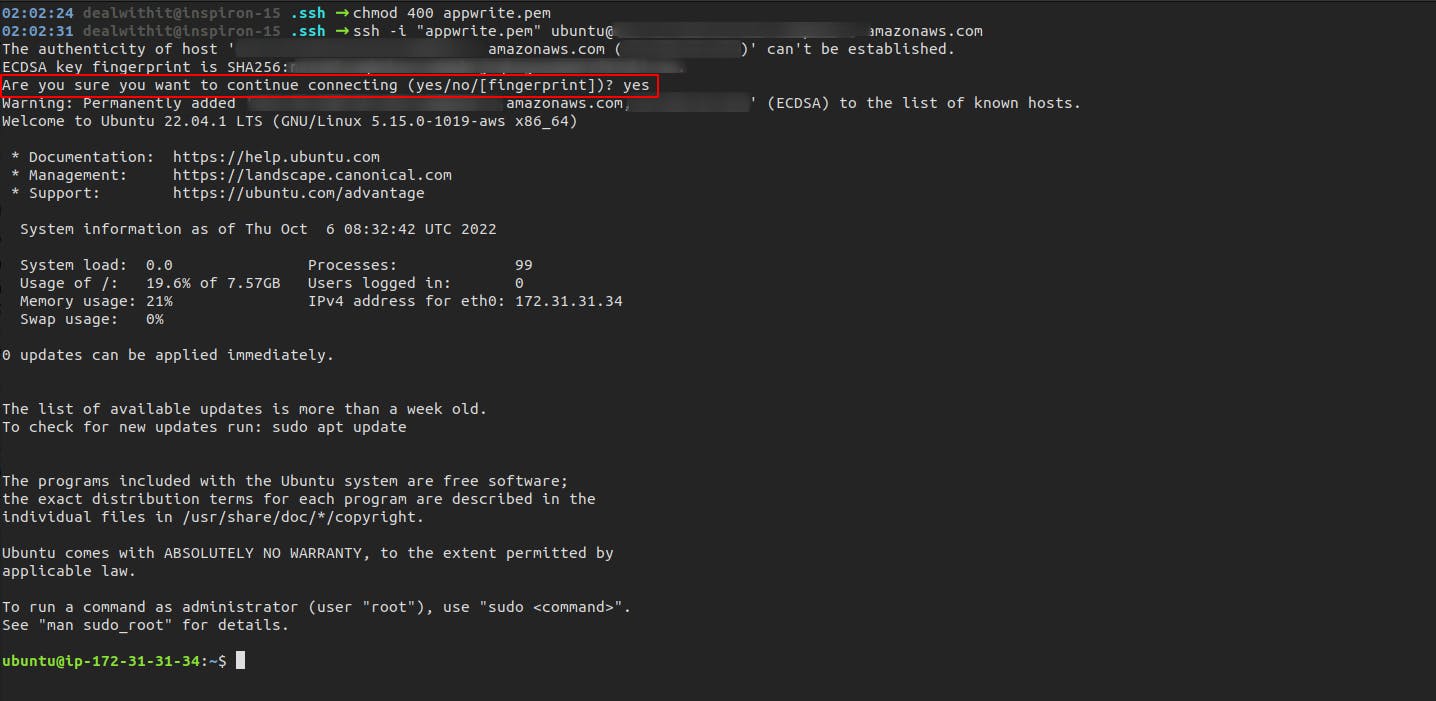
next, change the permissions of the ssh key and then run the ssh command to connect to your instance.
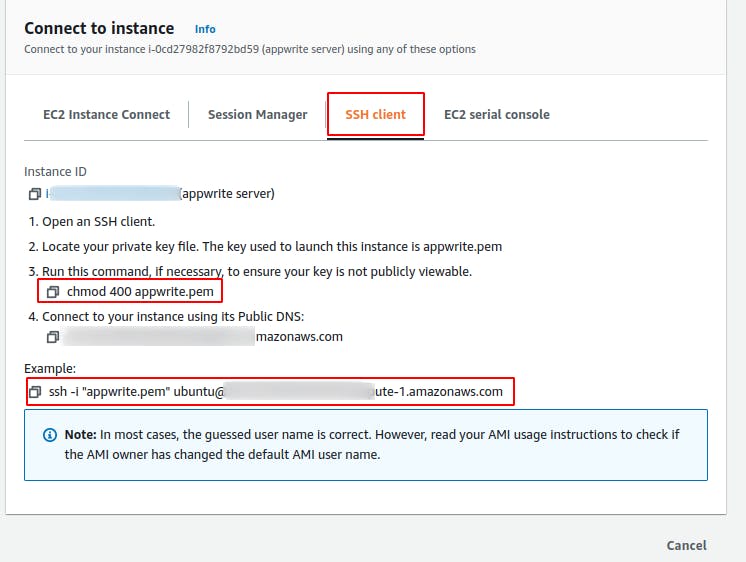
follow the command on bash to connect to the instance
next head over to appwriteinstallation guide . here I will use docker to quickly set up appwrite. for that we need to install docker I followed this great guide from digital ocean for that.
sudo apt update
sudo apt install apt-transport-https ca-certificates curl software-properties-common
curl -fsSL https://download.docker.com/linux/ubuntu/gpg | sudo apt-key add -
sudo add-apt-repository "deb [arch=amd64] https://download.docker.com/linux/ubuntu focal stable"
sudo apt install docker-ce
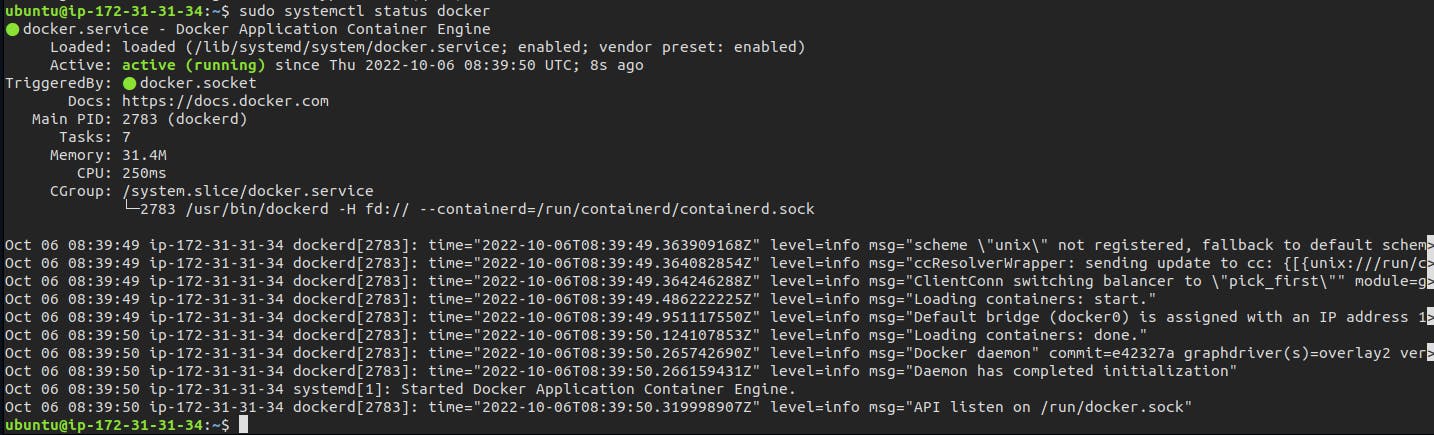
sudo systemctl status docker
the final command will result in a running docker process.
next, run following commands to run docker without sudo
sudo usermod -aG docker ${USER}
sudo usermod -aG docker ubuntu
by running docker -v confirm your docker installation.

next, we need to install docker compose digital ocean guide .
sudo curl -L "https://github.com/docker/compose/releases/download/1.29.2/docker-compose-$(uname -s)-$(uname -m)" -o /usr/local/bin/docker-compose
sudo chmod +x /usr/local/bin/docker-compose
docker-compose --version

next copy docker command from appwrite docs and run it with sudo privileges.
sudo docker run -it --rm
    --volume /var/run/docker.sock:/var/run/docker.sock
    --volume "$(pwd)"/appwrite:/usr/src/code/appwrite:rw
    --entrypoint="install"
    appwrite/appwrite:1.0.1
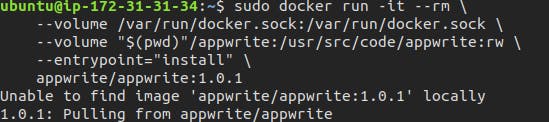
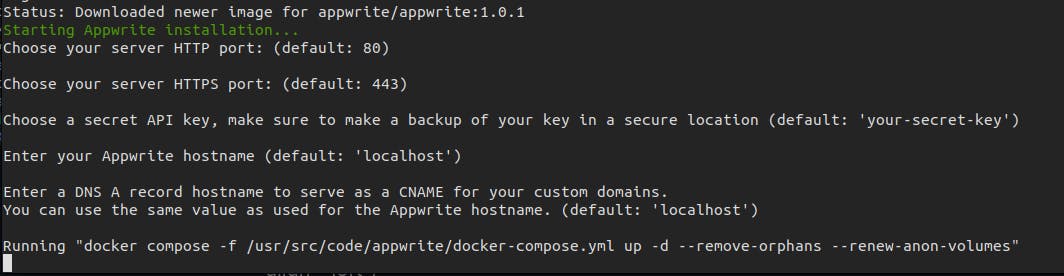
next appwrite will ask for some details about your deployment, here i will do with defaults.
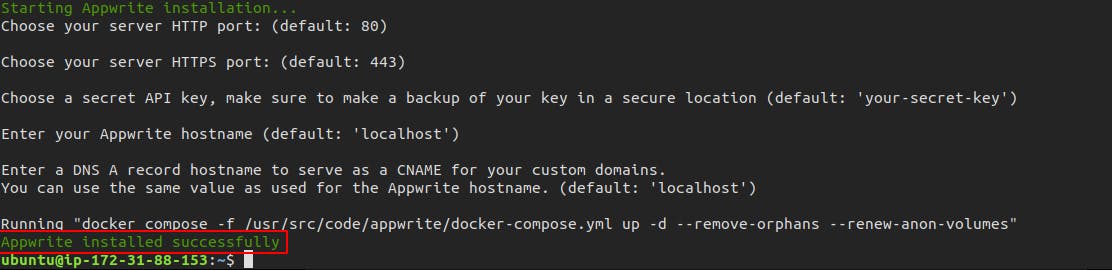
after a few minutes we can get Appwrite installed successfully
then head over to the AWS console and get the public IP of the instance and go to it from your browser.

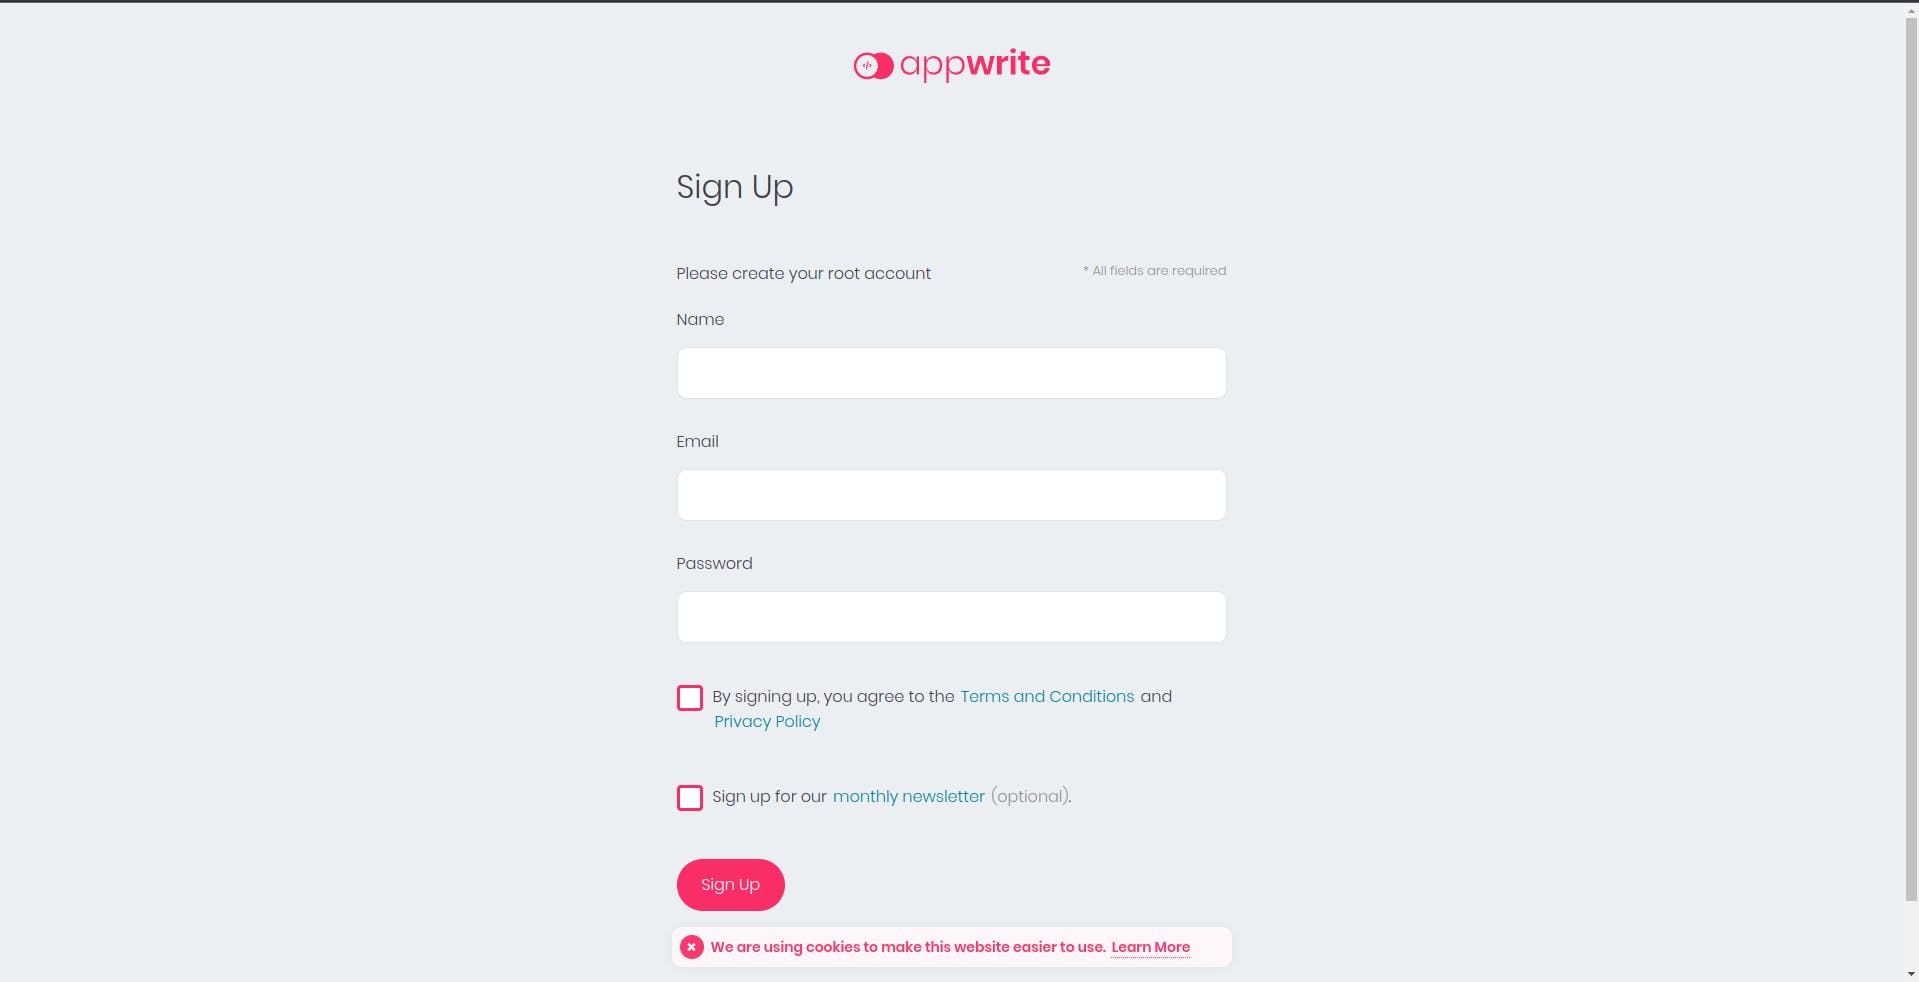
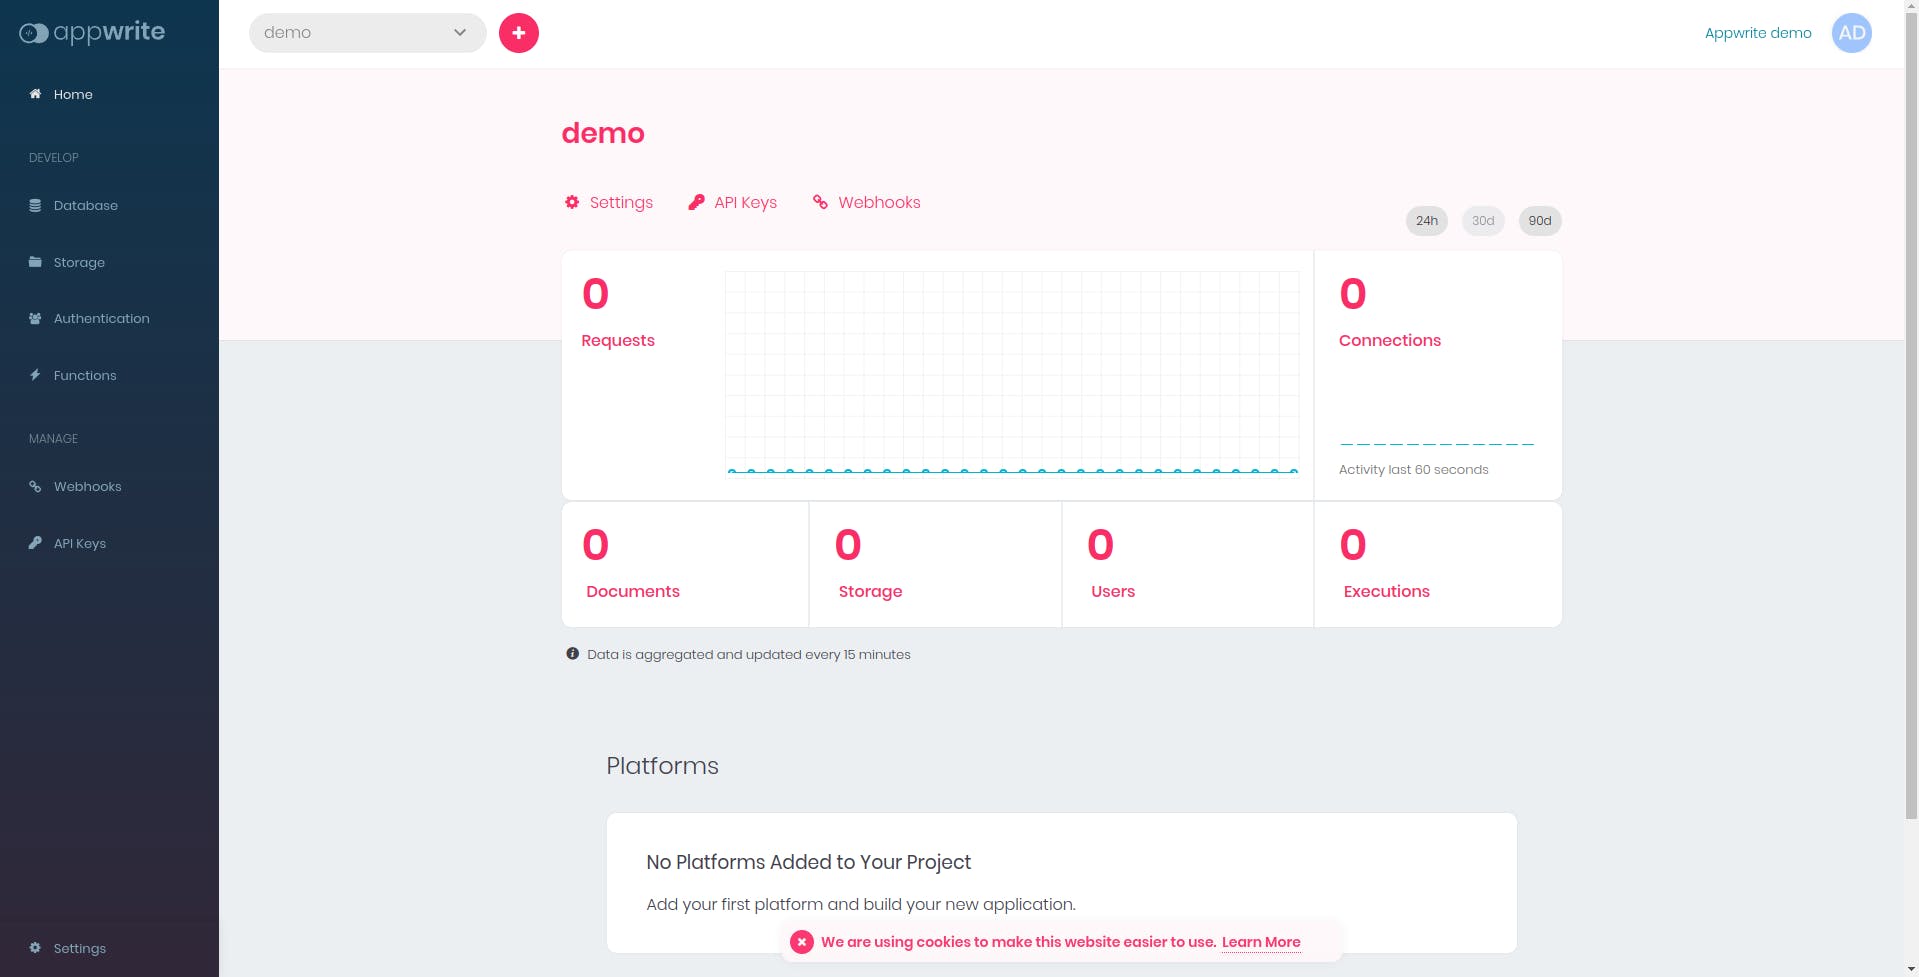
you will see a new shiny appwrite signup page.
next, you can configure it as you wish.
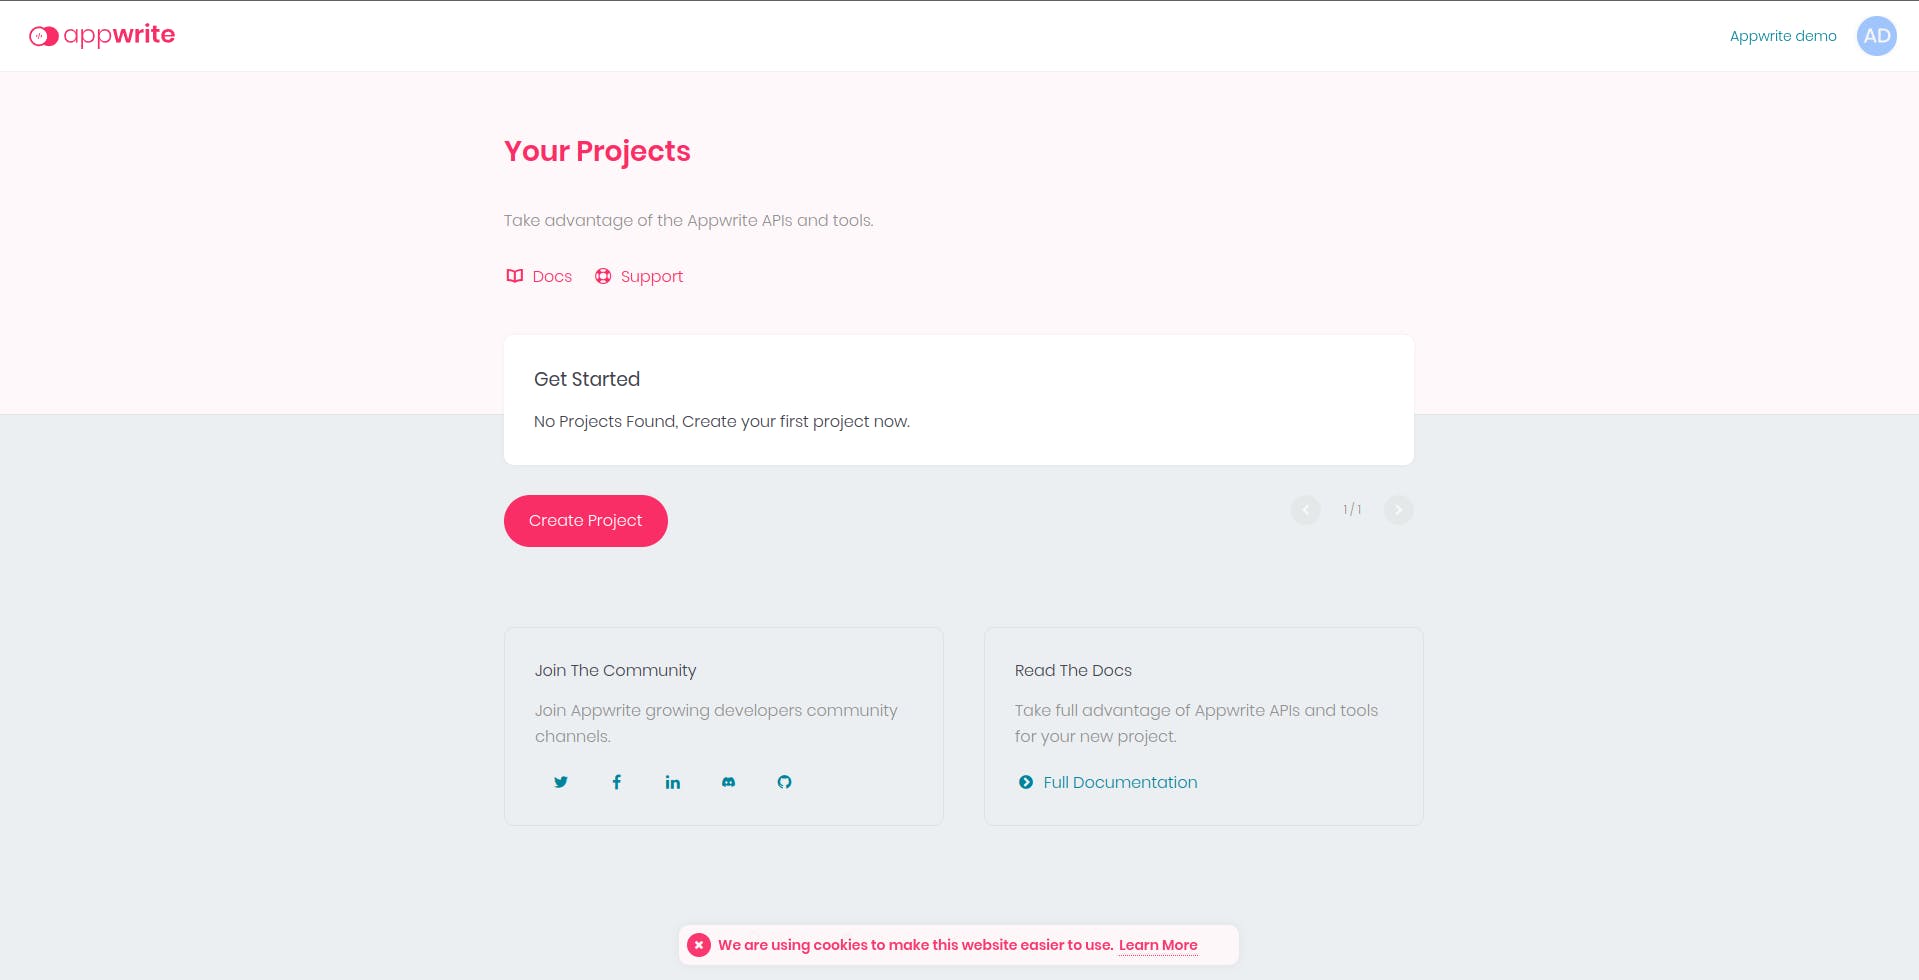
There you have it , a new appwrite application at your command , visit appwrite docs for more info on the features of appwrite.